How to Transfer Contacts from an Android to an iPhone
Switching from an Android device to an iPhone is an exciting transition, but the thought of transferring your contacts can be a bit daunting. However, the process is simpler than you might think. In this guide, we’ll walk you through the steps to transfer your contacts seamlessly from an Android phone to an iPhone.
Table of Contents
1. Backup Your Android Contacts
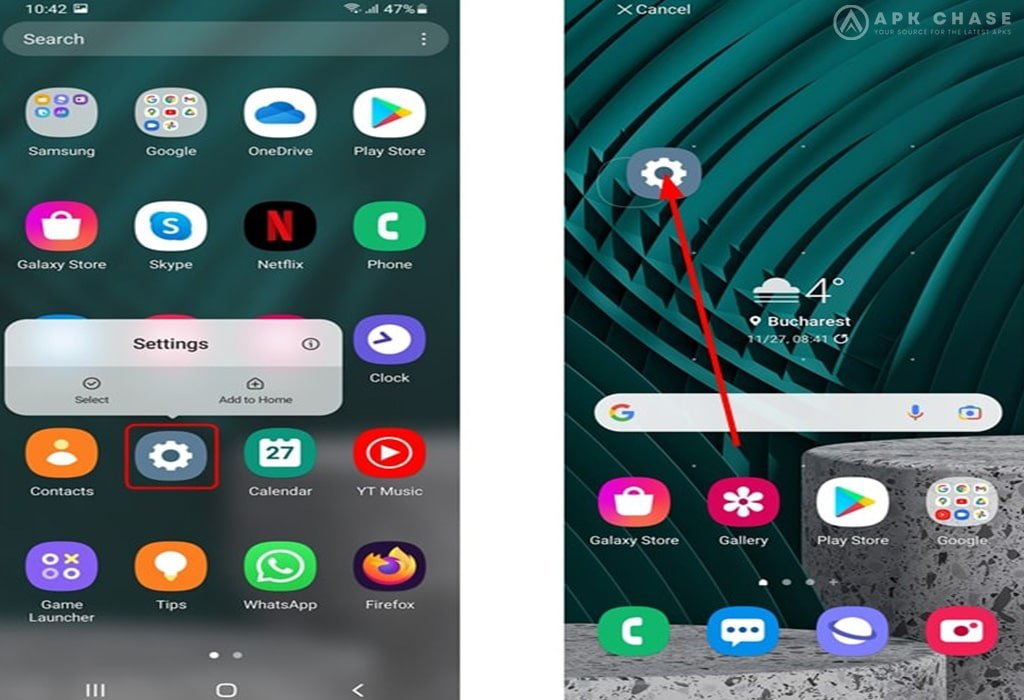
Before you begin the transfer process, it’s crucial to ensure that your contacts are backed up on your Android device. You can do this by syncing your contacts with your Google account. Here’s how:
- Open the “Settings” app on your Android device.
- Scroll down and tap on “Accounts” or “Accounts and Backup.”
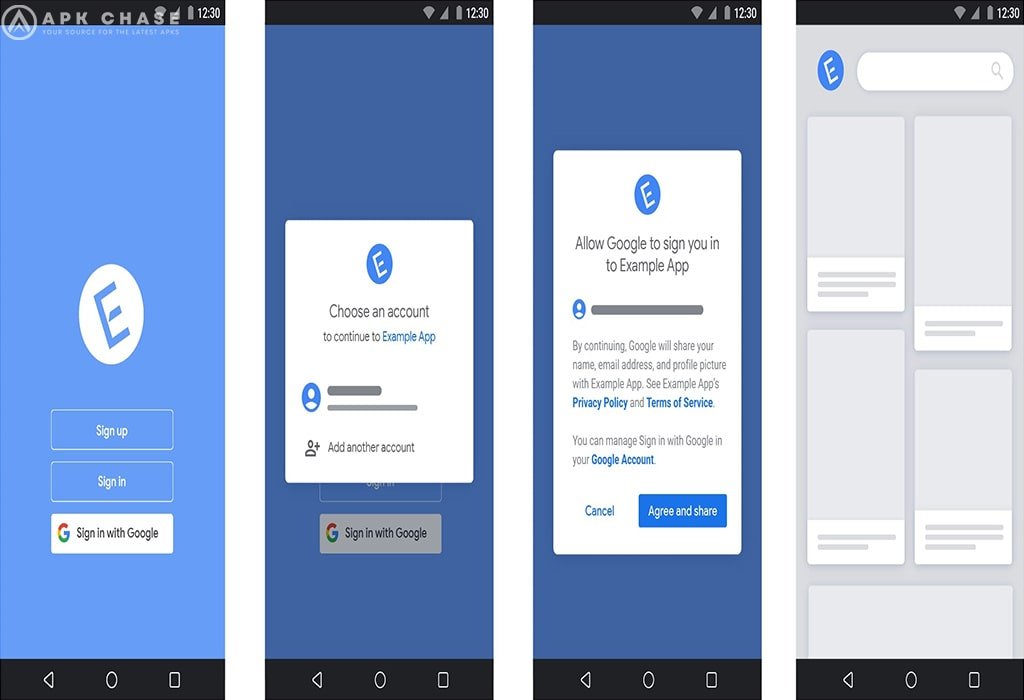
- Select “Google” and sign in with your Google account.
- Enable the “Contacts” toggle to sync your contacts with your Google account.


2. Set Up Your iPhone
Once your contacts are backed up, it’s time to set up your iPhone. Follow the initial setup steps until you reach the “Apps & Data” screen.
3. Import Contacts
On the “Apps & Data” screen, select “Move Data from Android.” A 6 to 10-digit code will appear on your iPhone.
4. Download and Install “Move to iOS” App
On your Android device, go to the Google Play Store and download the “Move to iOS” app. This app will facilitate the transfer of your contacts and other data from your Android device to your iPhone.
5. Start the Transfer Process
Once the “Move to iOS” app is installed on your Android device, open it, and agree to the terms and conditions. You will be prompted to enter the 6 to 10-digit code that appeared on your iPhone earlier.
6. Select Data to Transfer
After entering the code, you’ll be given the option to select the data you want to transfer. Choose “Contacts” and any other relevant data you wish to transfer. Then, tap “Next.”
7. Transfer Process Begins
The transfer process will begin, and you’ll see a progress bar on both your Android device and iPhone. It might take some time depending on the amount of data you’re transferring.
8. Completing the Transfer
Once the transfer is complete, you’ll receive a notification on your Android device. On your iPhone, tap “Done” on the “Transfer Complete” screen.
9. Set Up Contacts on Your iPhone
Open the “Contacts” app on your iPhone, and you should see all your contacts from your Android device. The contacts will now be stored in your iCloud account.
10. Check and Organize Your Contacts
After the transfer, it’s a good idea to go through your contacts and ensure that everything transferred correctly. Sometimes, formatting differences between Android and iOS might cause minor discrepancies.
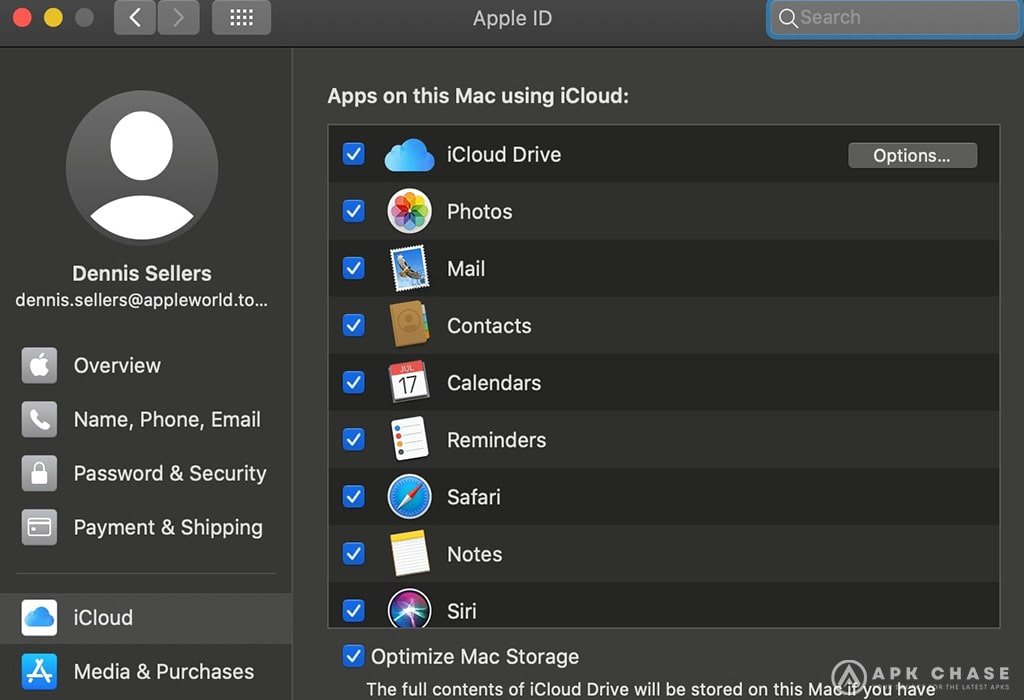
11. Bonus Tip: Syncing with iCloud
To ensure that your contacts are consistently backed up and synced across your Apple devices, you can enable iCloud sync for contacts:
- Open the “Settings” app on your iPhone.
- Tap on your name at the top of the screen to access your Apple ID settings.
- Select “iCloud.”
- Toggle on “Contacts.”



Conclusion
Transferring contacts from an Android device to an iPhone might seem like a complicated task, but with the “Move to iOS” app and the steps outlined in this guide, you can seamlessly migrate your important contact information. Remember to back up your contacts on your Android device and follow each step carefully to ensure a smooth transition. With your contacts safely transferred, you can fully enjoy your new iPhone while staying connected with your friends, family, and colleagues.


